The Send Transfer activity is used to move stock from one Outlet to another. This is helpful for redistributing inventory between locations.
Note: This activity type is available only if your Company has the Outlet Transfers extension installed.
In Manage, go to Products → Stock Manager.
Click + New Activity in the top right.
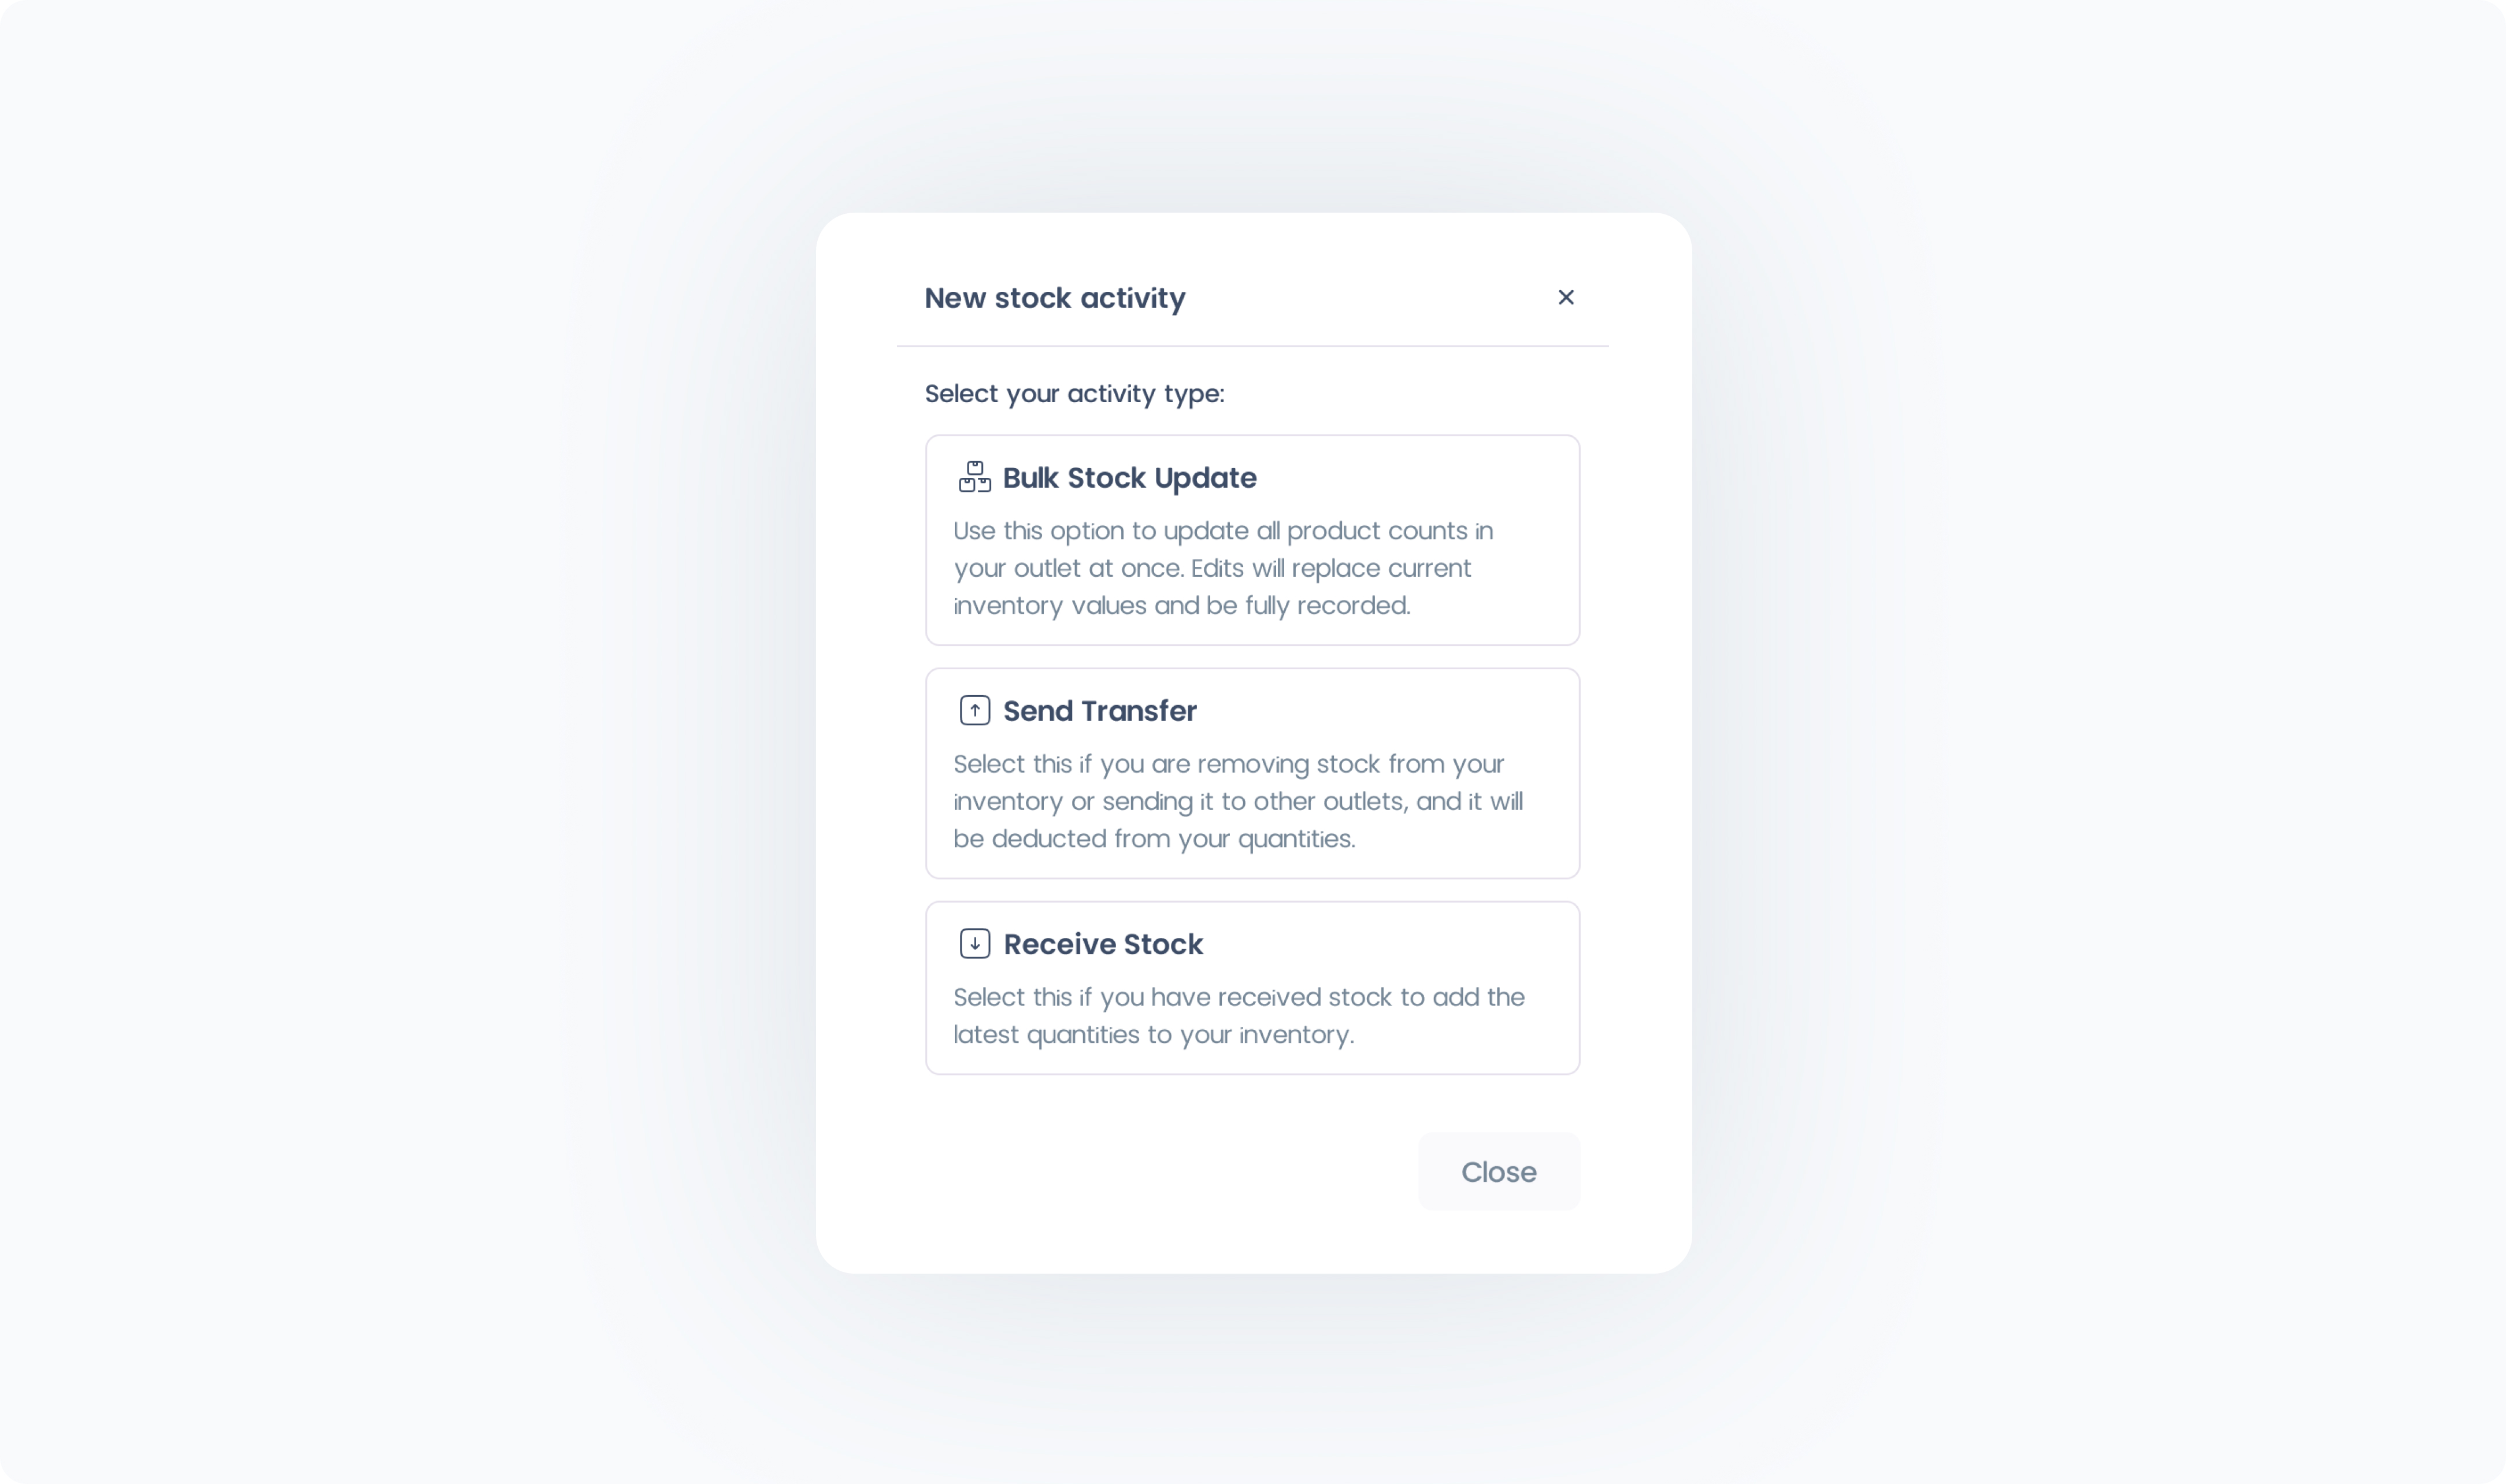
In the New stock activity pop-up, select Send Transfer.
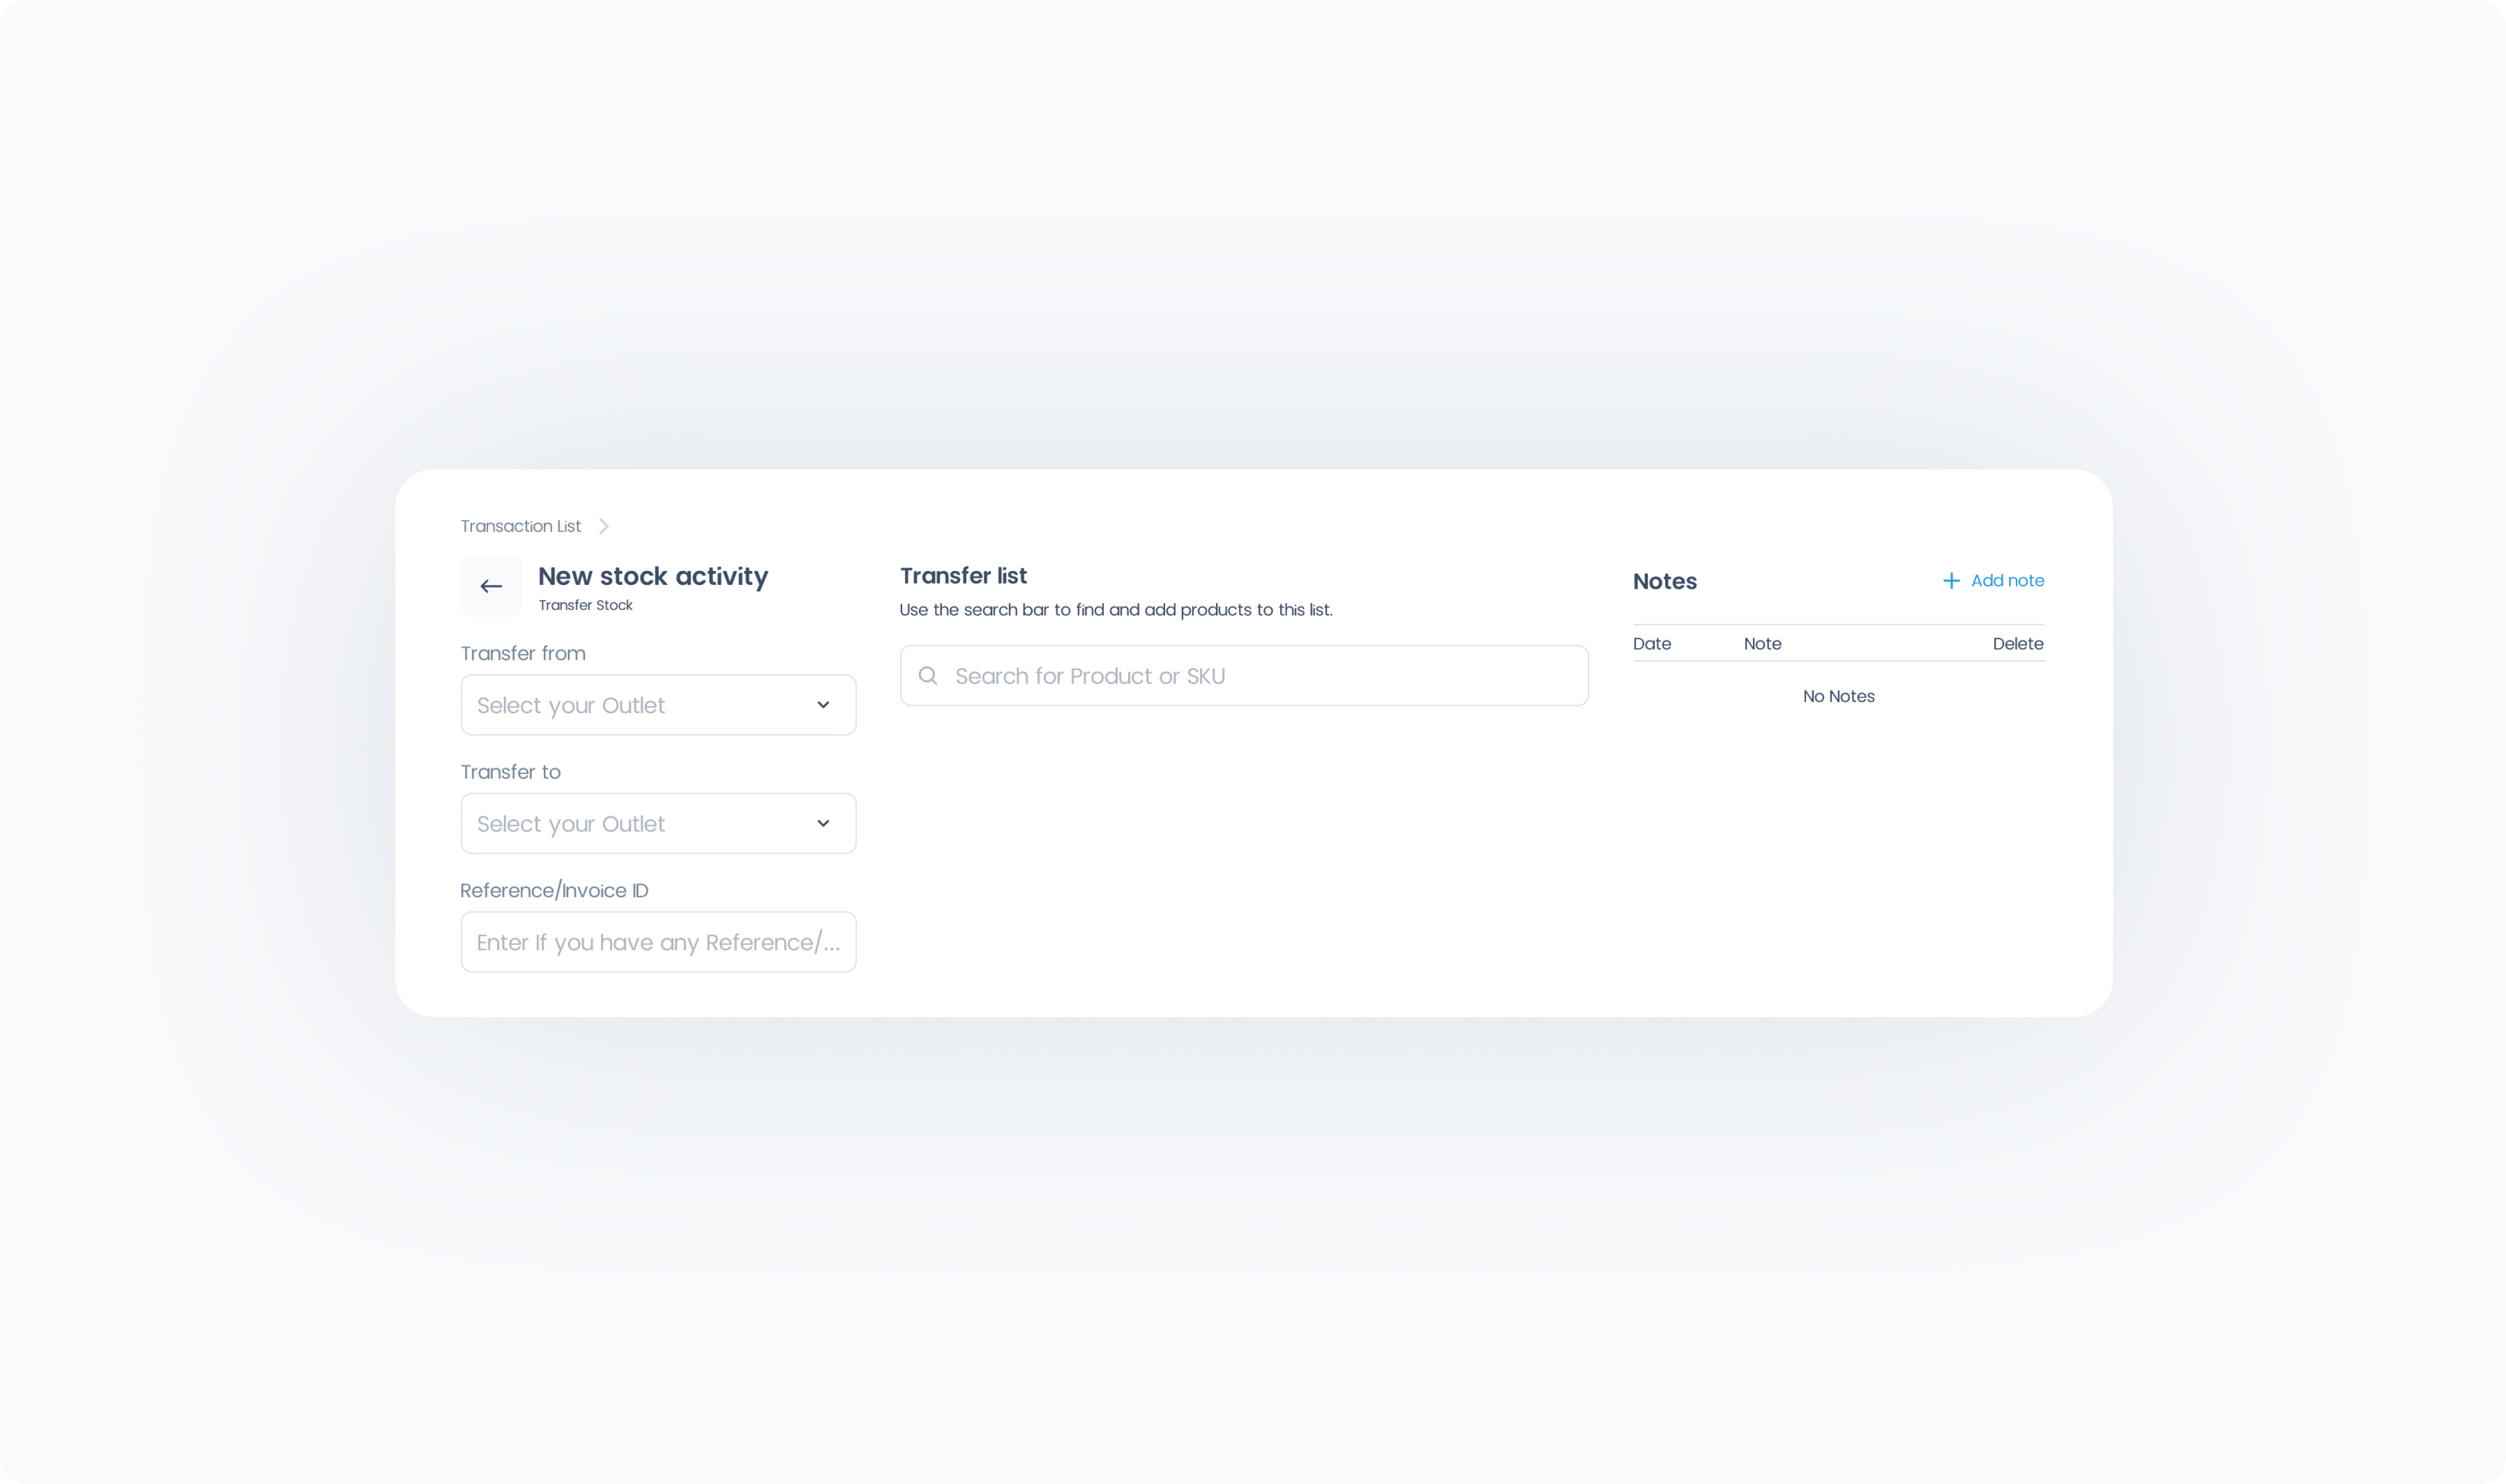
On the Send Transfer page, choose an Outlet from the Transfer from dropdown. This is the Outlet where the stock will be deducted.
Choose the receiving Outlet via the Send to dropdown. This is where the stock will be sent.
Reference / Invoice ID (Optional) – Add an external reference number if needed.
Add Products – Search for and add each product you’re transferring, and enter a quantity for each.
Enter Quantities – Enter the quantity you want to send for each product.
Add Notes (Optional) – Include a note for the receiving Outlet.
Review your list to make sure all products and quantities are correct.
Click Send to finalize the transfer.
When sent, the destination Outlet will see a Receive Transfer entry in Stock Manager with the status In Transit until they confirm receipt.