Categories help you organize your product list into logical groups. They’re especially useful in larger catalogs and can improve how products appear and are filtered in your flow. You can further organize your products into nested subcategories as well.
Go to Products → Categories
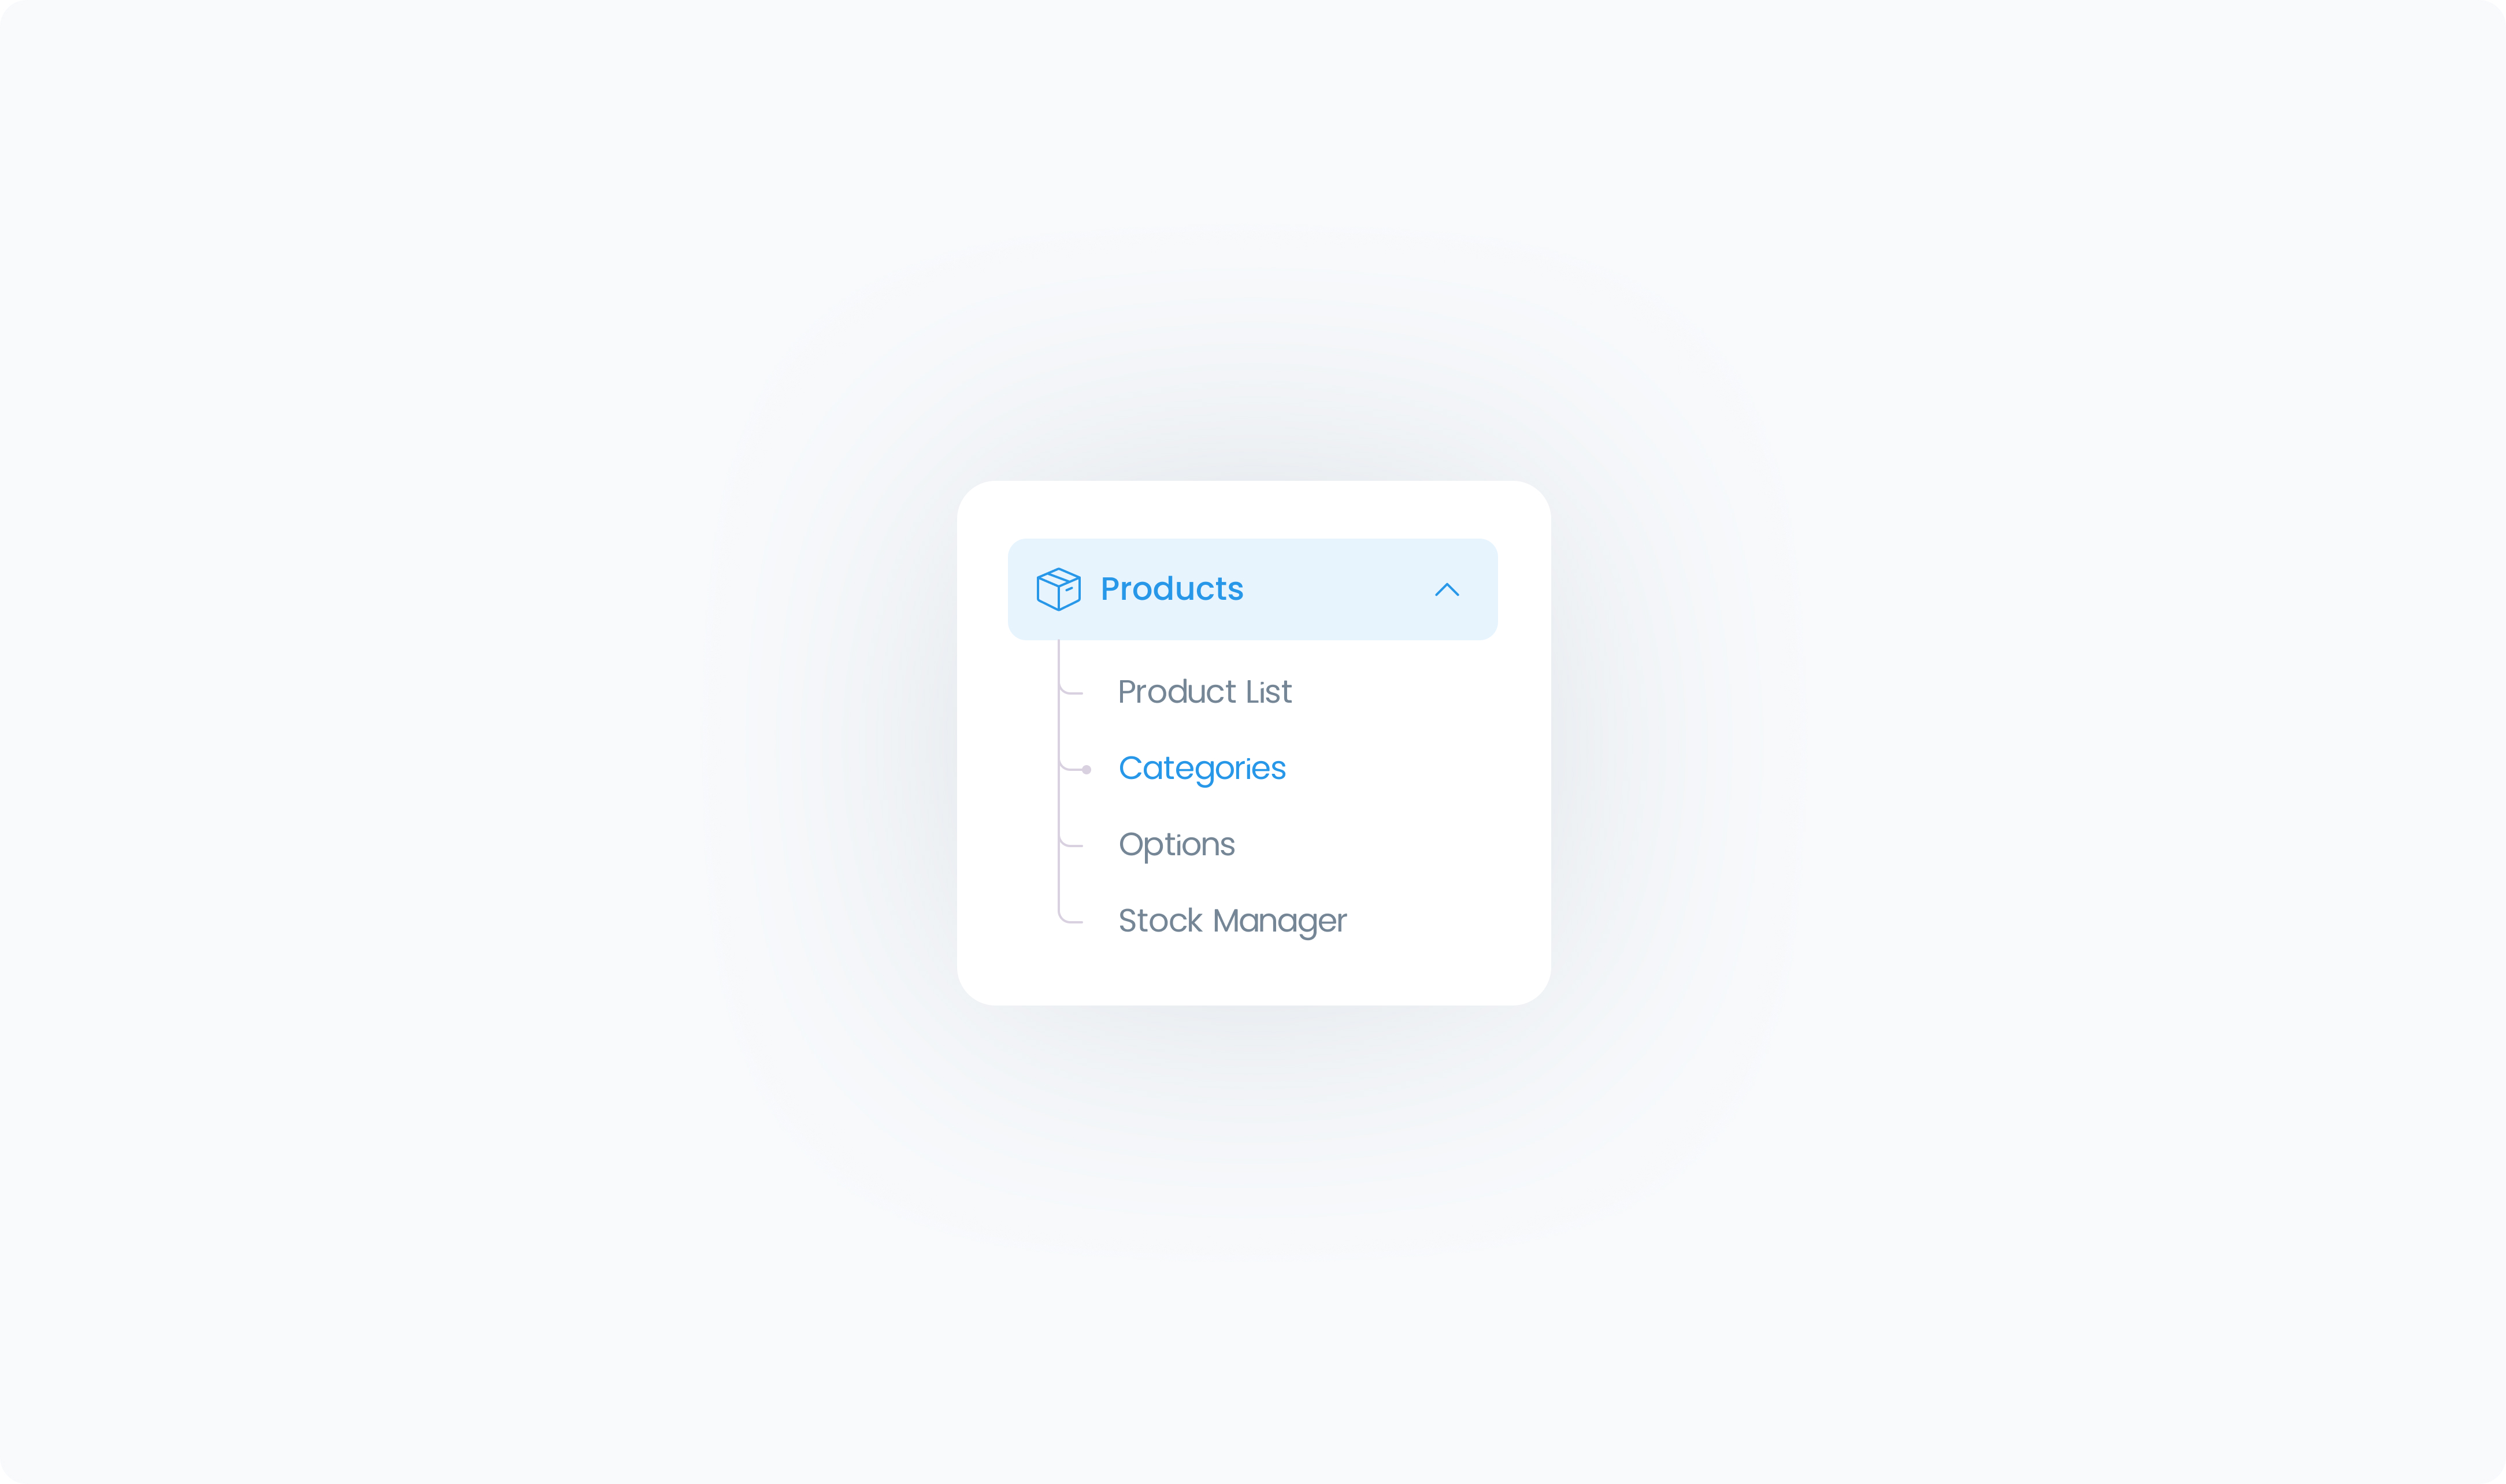
In the left-hand menu, click Products, then select Categories.
Click “Create Category”
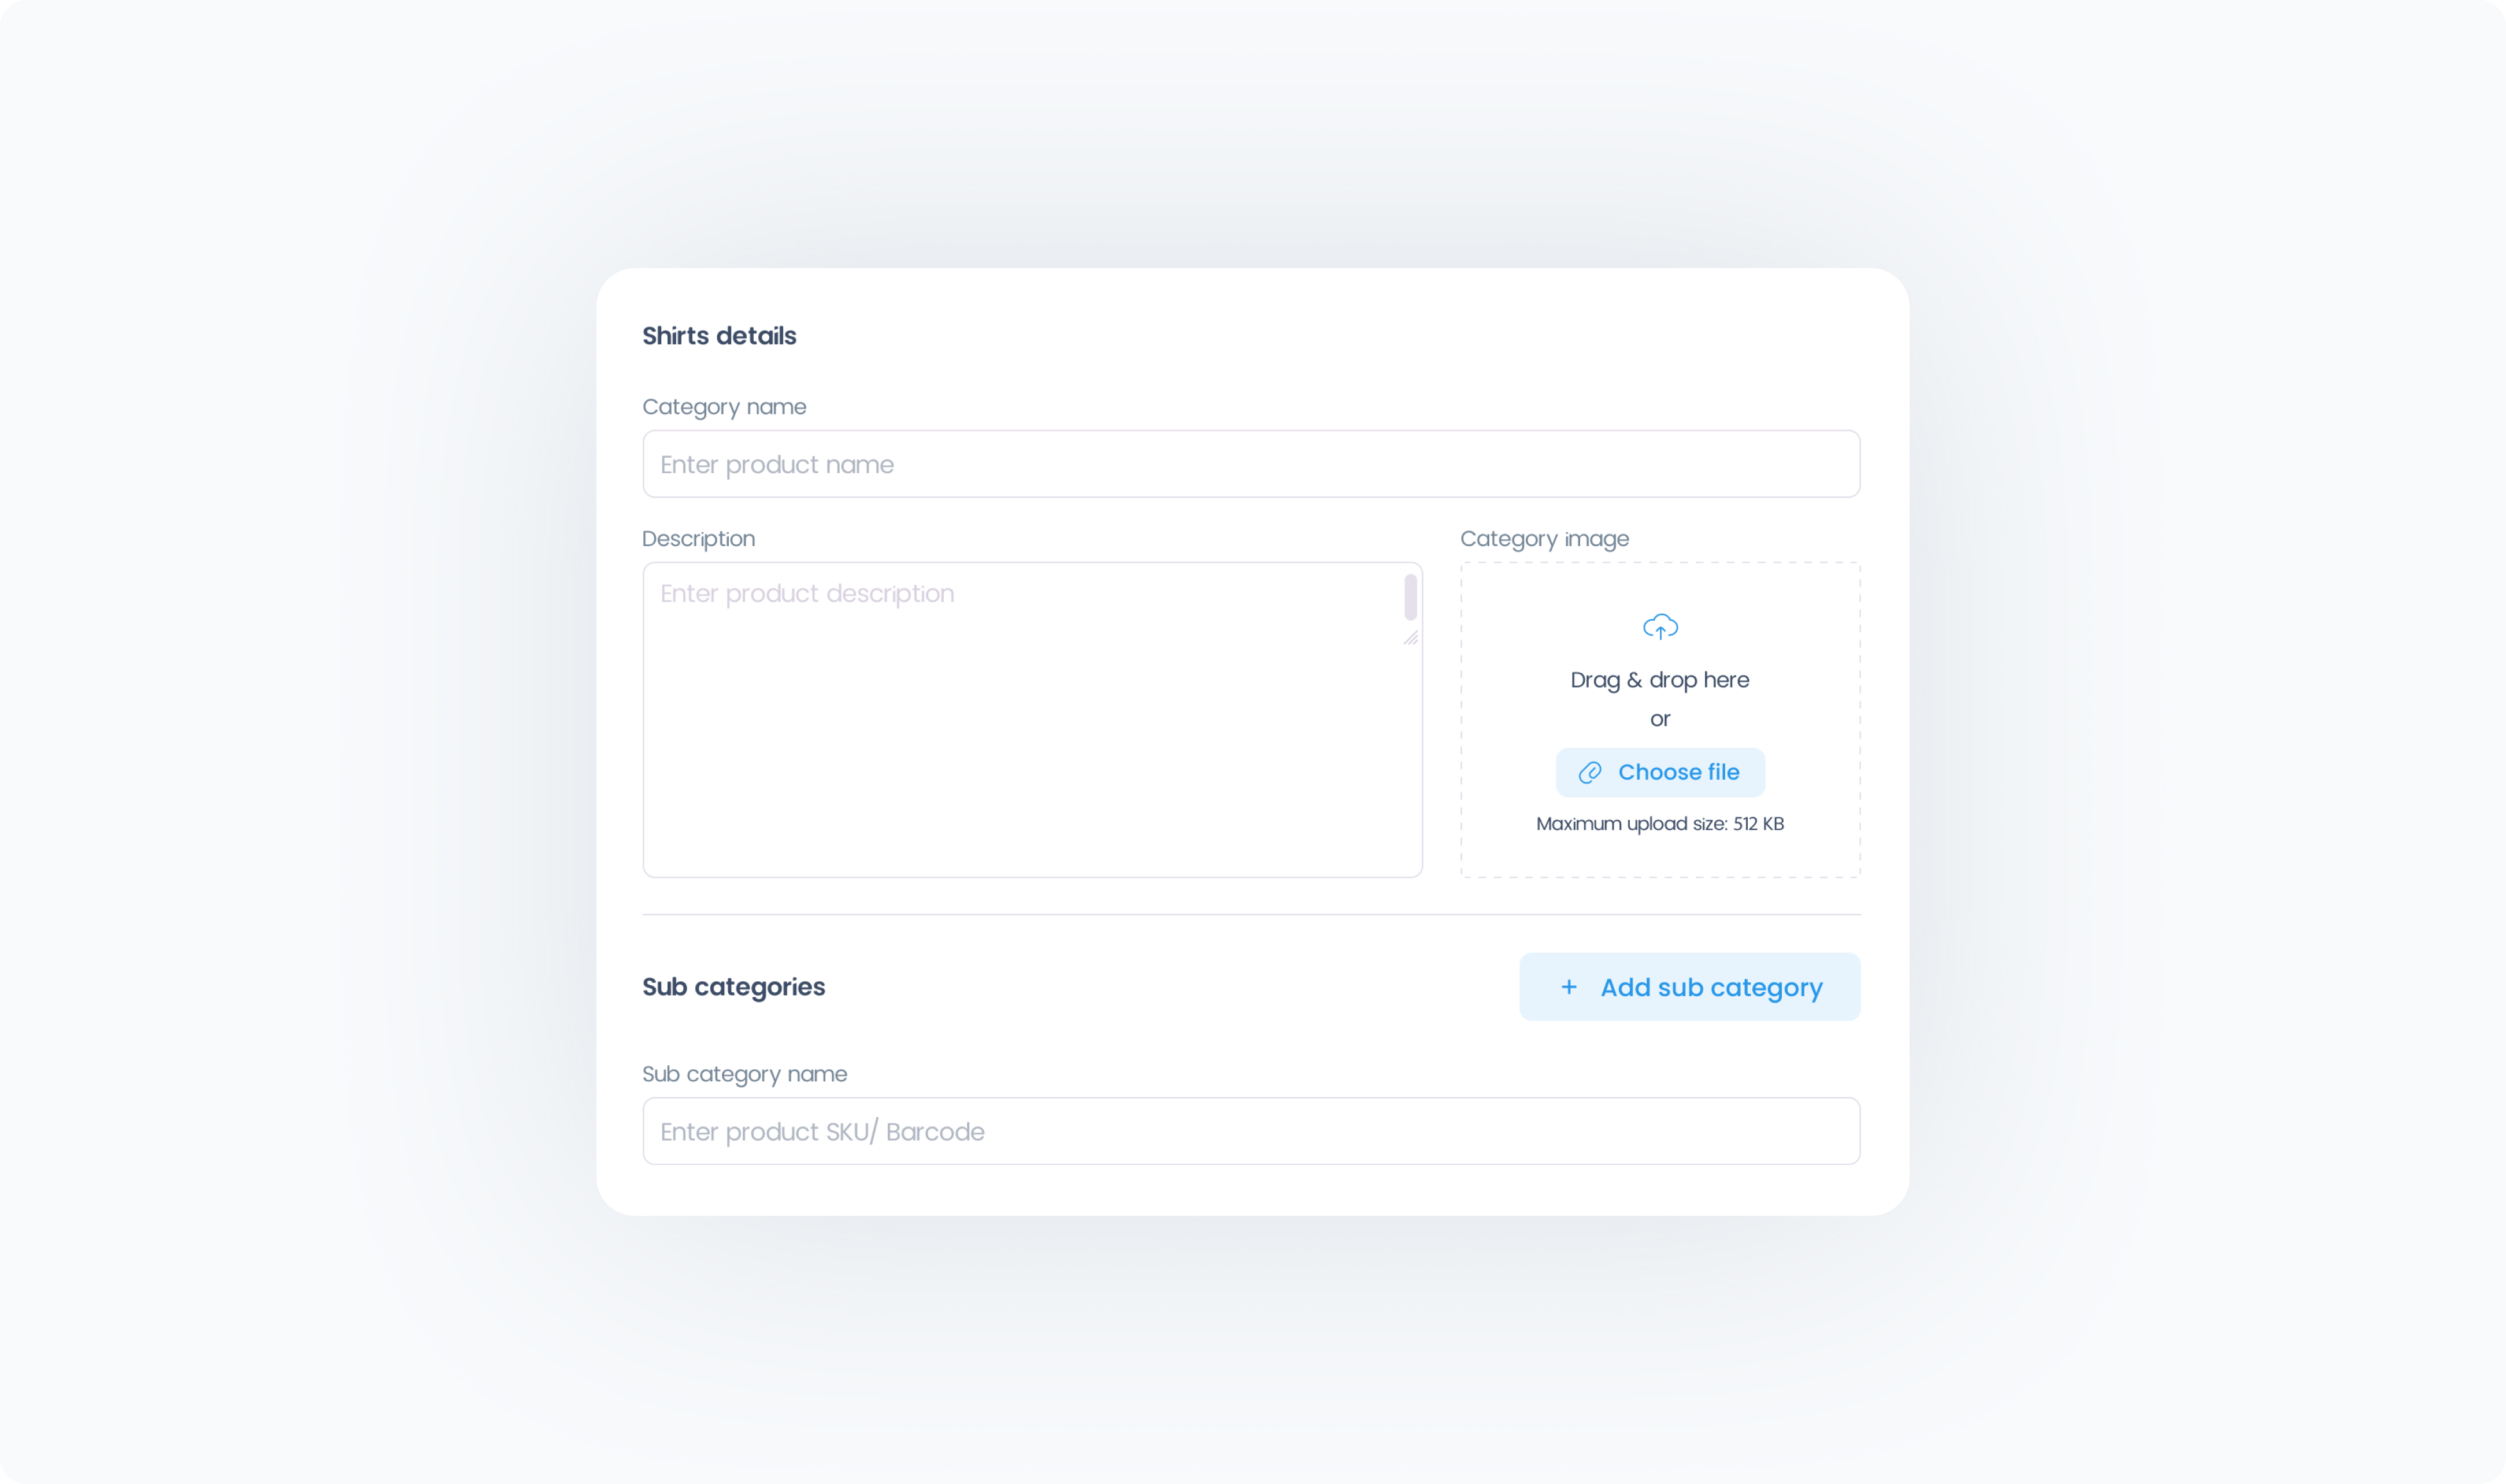
Enter a Category Name (like Apparel, Coffee, or Accessories) in the pop-up that appears, then click Add New.
Optional steps – Add a category description, category image
The category will now appear in your list and can be assigned to products.
Each product can be added to any number of categories you choose. Follow these steps to assign one or more categories to a product:
Go to Product List and open the product you want to update.
In the product editor, look for the Categories section.
Select one or more categories from the list.
Click Save to apply the changes.
Products can belong to multiple categories if needed.